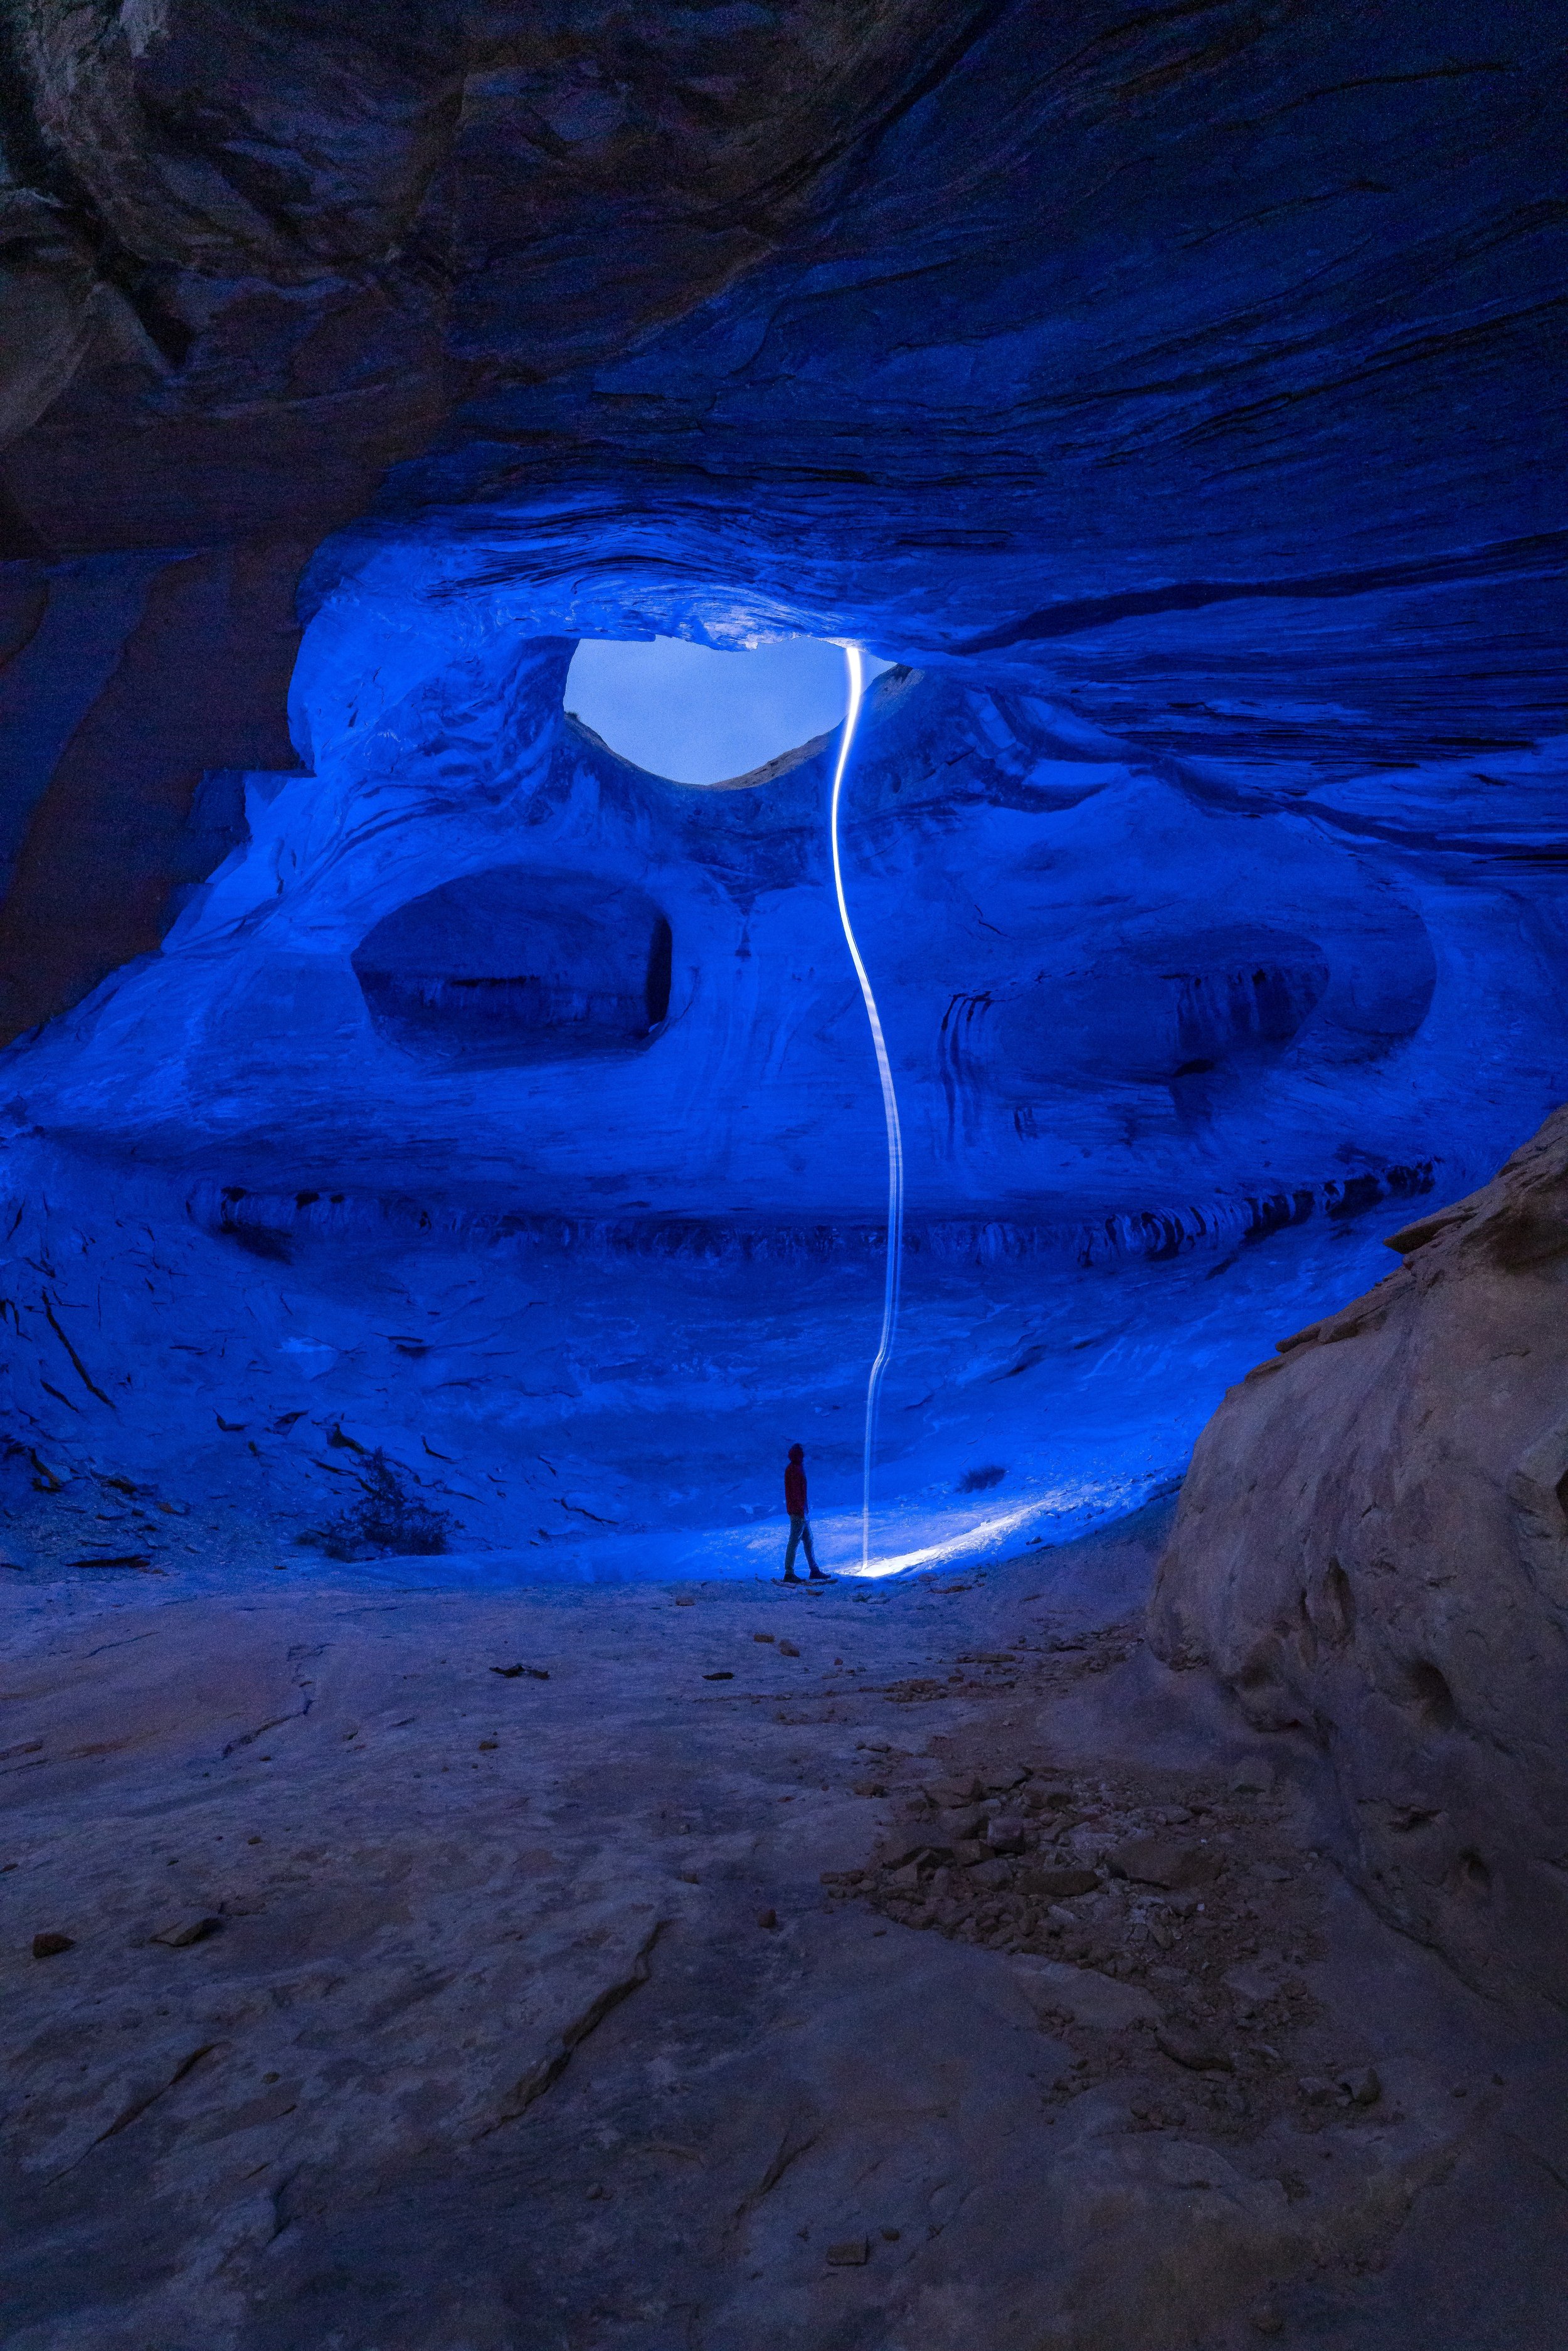
Light Painting Photography Under the Night Skies of Utah
Utah's vast desert landscapes and iconic rock formations make it a perfect destination for night sky photography. Among the many techniques you can employ to capture stunning nighttime images, light painting stands out as a creative way to add dynamic elements to your shots.
In this blog post, we'll explore the art of light painting photography under the night skies of Utah, discuss essential camera settings, and show how you can use ProMaster's new Chroma TL9RGB LED tube light—a game-changer for light painting enthusiasts.
Understanding Light Painting Photography
Light painting photography involves using handheld light sources to "paint" or illuminate parts of a scene during a long exposure shot. This technique can add depth, interest, and vibrant colors to your night sky images. The key to a successful light painting session combines creativity, the right equipment, and proper camera settings.
In our opinion, there are two main types of light painting. Traditional light painting involves setting the camera to a long exposure and ‘painting’ using a product like ProMaster’s LED tube light. The second type of light painting uses LED lights to creatively light a scene, with a long exposure to create a dynamic mix of light and night time scenery.
Essential Camera Settings for Light Painting
To achieve stunning light painting photos, you need to adjust your camera settings accordingly.
Here's a step-by-step guide:
Use Manual Mode
Switch your camera to manual mode to have full control over your exposure settings.
Set a Low ISO
Keep your ISO low (around 400-800) to reduce noise and ensure a clean image.Choose a Small Aperture
Use a small aperture (high f-stop value, such as f/8 to f/16) to ensure a greater depth of field and keep more of the scene in focus.Adjust the Shutter Speed
Set your shutter speed to a long exposure time (ranging from 10 seconds to several minutes, depending on the effect you want to achieve). This will allow you to capture the movement of the light source as you paint the scene. For the majority of the images seen in this blog post, our settings were as follows: A wide angle lens 16-35mm or 17-28mm set to F4 10 seconds at ISO1600 with our focus snapped on something mid-range in the frame or a star in the dark sky above.Use a Tripod
A sturdy tripod, like the ProMaster Epoch tripod, is essential to keep your camera stable during long exposures.Enable Manual Focus + Timer Setting
Switch to manual focus and set the focus to infinity, ensuring that the stars and distant elements are tack-sharp. Set your camera to fire after a 2 or 5-second timer to avoid camera shake. Experiment by turning on ‘Interval Timer’ mode to have your camera fire a handful of shots while you experiment with different light painting techniques in the front of your camera and tripod setup. This will give the ability to experiment, review the images and decide what patterns or light movement looked the best to create the desired effect or desired light-painting outcome.
There is no right or wrong way to light paint, let your creativity come alive and step outside of these camera settings to see what you can create using different light sources like the ProMaster Chroma TL9RGB LED tube light and other elements. The sky’s the limit when heading out to light paint. Give yourself ample time to experiment, give yourself the freedom to fail, but also learn from those mistakes to create imagery that’s truly unique and never before seen. And don’t forget to fall in love with the process and have fun while you’re doing it!
Frankie Spontelli
Frankie is a Denver-based adventure and travel photographer and licensed drone pilot who focuses on adventure, landscape/travel, and outdoor lifestyle product photography. Every new photo project is an opportunity to start an exciting adventure.
Ross Bernards
10 years of photography combined with a lifelong passion for the outdoors and genuine laughs, Ross creates a one-of-a-kind story through his lens. Using a photojournalistic approach Ross captures authentic human experiences in unique locations while using natural light to showcase Mother Nature’s more dramatic side.
Posted July 16, 2024.


